HPC Job Activity tool
Interactive reporting of HPC job activity
The HPC Job Activity menu item opens a powerful reporting tool. By default, the report shows all activity over the last 30 days for projects you are authorized to view usage of. There are simple filters available at the top to put in a specific job ID, narrow the report to a specific project, or select a specific date range.
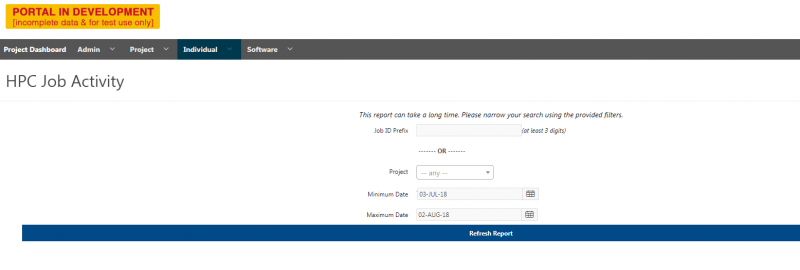
Click ‘Refresh Report’ to get the job activity report as shown below:

There are more details on how to do advanced reports discussed in ‘Interactive Reporting’ section, but here are some basics about interacting with the report. Clicking on a column header will bring up a quick filter menu where you can filter the records, sort by that column, hide the column, or group by each unique entry.
In addition, you can do a quick text search, select which saved report you wish to view (if you have any saved reports), change the number of rows per page, and do advanced actions from changing the visible columns to aggregating data, creating charts, and saving your custom report formats.
View job scripts
To view the script associated with a job, you can click on the ‘Job ID’ for that job. This will open a pop-up dialog with the first 5kb of the job script, with a button to enable you to download the entire script.

Importantly, you will notice that the script is not identical to what you submitted on the command line; this is because our infrastructure scripts will add some additional information of value to the scheduler and record that information in the final job script.
If a job is interactive, the job script will not be recorded because there isn’t one! We do not have a mechanism to record what happens in an interactive batch job and store that in the accounting system. You may want to use descriptive job names in your batch submissions if you want to be able to review utilization and determine what a job was for when no script is recorded.
Creating a job note
There is a column available in the report that provides a per-row button labeled “View/Add Note”. This button will open a dialog window that will allow you to view any notes that have been added to a job or create a note. At 200 characters, notes are fairly short, but they do allow you to add a little bit of metadata to a job once it is in the accounting system.
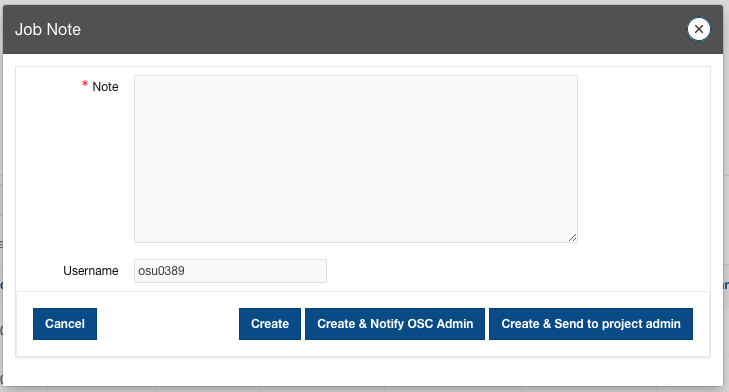
There are three “create” buttons available, which take slightly different actions. Clicking “Create” will just save the note in the job record. Clicking “Create & Notify OSC Admin” will allow you to save the note and notify OSC staff that there is a job note they should review. Please note, this is not the recommended or preferred method for reporting job problems. Please continue to email OSC Help. Finally, “Create & Send to project admin” will add the note to the job record and notify the PI and project admins that there is a job note that needs to be reviewed.