HOWTO: Create and Manage Python Environments
While our Python installations come with many popular packages installed, you may come upon a case in which you need an additional package that is not installed. If the specific package you are looking for is available from anaconda.org (formerly binstar.org), you can easily install it and required dependencies by using the conda package manager.
Procedure
The following steps are an example of how to set up a Python environment and install packages to a local directory using conda. We use the name local for the environment, but you may use any other name.
Load proper Python module
We have python and Miniconda3 modules. python and miniconda3 module is based on Conda package manager. python modules are typically recommended when you use Python in a standard environment that we provide. However, if you want to create your own python environment, we recommend using miniconda3 module, since you can start with minimal configurations.
module load miniconda3/24.1.2-py310
Configure Conda (first time use)
The first time you use conda, it is recommend to configure it to use the desired channels and options. A number of channels exist with different packages and licensing requirements. While academic users are generally unrestricted, commercial users may be subject to terms of service requiring license purchasing. Commercial users are encouraged to check with their organization regarding licensing. Please see Anaconda, Inc. Terms of Service for details.
To avoid using proprietary packages from the defaults channel, users can remove it:
conda config --remove channels defaults
and add the alternative conda-forge channel instead:
conda config --add channels conda-forge
OSC recommends setting strict channel priority:
conda config --set channel_priority strict
If strict channel priority makes required dependencies unavailable, it can be disabled:
conda config --set channel_priority flexible
Create Python installation to local directory
Three alternative create commands are listed. These cover the most common cases.
CREATE NEW ENVIRONMENT
The following will create a minimal Python installation without any extraneous packages:
conda create -n local
CLONE BASE ENVIRONMENT
If you want to clone the full base Python environment from the system, you may use the following create command:
conda create -n local --clone base
CREATE NEW ENVIRONMENT WITH SPECIFIC PACKAGES
You can augment the command above by listing specific packages you would like installed into the environment. For example, the following will create a minimal Python installation with only the specified packages (in this case, numpy and babel):
conda create -n local numpy babel
By default, conda will install the newest versions of the packages it can find. Specific versions can be specified by adding =<version> after the package name. For example, the following will create a Python installation with Python version 2.7 and NumPy version 1.16:
conda create -n local python=2.7 numpy=1.16
CREATE NEW ENVIRONMENT WITH A SPECIFIC location
By default, conda will create the environment in your home location $HOME. To specify a location where the local environment is created, for example, in the project space /fs/ess/ProjectID, you can use the following command:
conda create --prefix /fs/ess/ProjectID/local
To activate the environment, use the command:
source activate /fs/ess/ProjectID/local
To verify that a clone has been created, use the command
conda info -e
For additional conda command documentation see https://docs.conda.io/projects/conda/en/latest/commands.html#conda-general-commands
Activate environment
For the bash shell:
source activate local
At the end of the conda create step, you may saw a message from the installer that you can use conda activate command for activating environment. But, please don't use conda activate command, because it will try to update your shell configuration file and it may cause other issues. So, please use source activate command as we suggest above.
conda init to enable the conda activate command, your shell configuration file such as .bashrc would have been altered with conda-specific lines. Upon activation of your environment using source activate, you may notice that the source activate/deactivate commands cease to function. However, we will be updating miniconda3 modules by May 15th 2024 to ensure that conda activate no longer alters the .bashrc file. Consequently, you can safely remove the conda-related lines between # >>> conda initialize >>> and # <<< conda initialize <<< from your .bashrc file and continue using the conda activate command.On newer versions of Anaconda on the Pitzer cluster you may also need to perform the removal of the following packages before trying to install your specific packages:
conda remove conda-build
conda remove conda-env
Install packages
To install additional packages, use the conda install command. For example, to install the yt package:
conda install yt
By default, conda will install the newest version if the package that it can find. Specific versions can be specified by adding =<version> after the package name. For example, to install version 1.16 of the NumPy package:
conda install numpy=1.16
If you need to install packages with pip, then you can install pip in your virtual environment by
conda install pip
Then, you can install packages with pip as
pip install PACKAGE
Please make sure that you have installed pip in your environment not using one from the miniconda module. The pip from the miniconda module will give access to the packages from the module to your environment which may or may not be desired. Also set export PYTHONNOUSERSITE=True to prevent packages from user's .local path.
Test Python package
Now we will test our installed Python package by loading it in Python and checking its location to ensure we are using the correct version. For example, to test that NumPy is installed correctly, run
python -c "from __future__ import print_function; import numpy; print(numpy.__file__)"
and verify that the output generally matches
$HOME/.conda/envs/local/lib/python3.6/site-packages/numpy/__init__.py
To test installations of other packages, replace all instances of numpy with the name of the package you installed.
Remember, you will need to load the proper version of Python before you go to use your newly installed package. Packages are only installed to one version of Python.
Install your own Python packages
If the method using conda above is not working, or if you prefer, you can consider installing Python packages from the source. Please read HOWTO: install your own Python packages.
But I use virtualenv and/or pip!
See the comparison to these package management tools here:
https://docs.conda.io/projects/conda/en/latest/commands.html#conda-vs-pip-vs-virtualenv-commands
Use pip only without conda package manager
pip installations are supported:
module load python
module list                            # check which python you just loaded
pip install --user --upgrade PACKAGE   # where PACKAGE is a valid package name
Note the default installation prefix is set to the system path where OSC users cannot install the package. With the option --user, the prefix is set to $HOME/.local where lib, bin, and other top-level folders for the installed packages are placed. Finally, the option --upgrade will upgrade the existing packages to the newest available version.
The one issue with this approach is portability with multiple Python modules. If you plan to stick with a single Python module, then this should not be an issue. However, if you commonly switch between different Python versions, then be aware of the potential trouble in using the same installation location for all Python versions.
Use pip in a Python virtual environment (Python 3 only)
Typically, you can install packages with the methods shown in Install packages section above, but in some cases where the conda package installations have no source from conda channels or have dependency issues, you may consider using pip in an isolated Python virtual environment.
To create an isolated virtual environment:
module reset
python3 -m venv --without-pip $HOME/venv/mytest --prompt "local"
source $HOME/venv/mytest/bin/activate
(local) curl https://bootstrap.pypa.io/get-pip.py |python     # get the newest version of pip
(local) deactivate
where we use the path $HOME/venv/mytest and the name local for the environment, but you may use any other path and name.
To activate and deactivate the virtual environment:
source $HOME/venv/mytest/bin/activate
(local) deactivate
To install packages:
source $HOME/venv/mytest/bin/activate
(local) pip install PACKAGE
You don't need the --user option within the virtual environment.
Use uv for virtual environments and package management
uv is a fast Python package and virtual environment manager developed by Astral. It provides functionality provided by both venv and pip, but is significantly faster at dependency resolution. Some users who do not need Conda packages or cross-language support in their project may prefer to use uv for its speed.
To learn more about using uv, see HOWTO: Use uv for Python at OSC.
Further Reading
Conda Test Drive: https://conda.io/docs/test-drive.html
HOWTO: Install Tensorflow locally
This documentation describes how to install tensorflow package locally in your $HOME space. For more details on Tensorflow see the software page.
Load python module
module load miniconda3/24.1.2-py310
If you need to install tensorflow versions not already provided or would like to use tensorflow in a conda environment proceed with the tutorial below.
Create Python Environment
First we will create a conda environment which we will later install tensorflow into. See HOWTO: Create and Manage Python Environments for details on how to create and setup your environemnt.
Make sure you activate your environment before proceeding:
source activate MY_ENV
Install package
Install the latest version of tensorflow.
conda install tensorflow
You can see all available version for download on conda with conda search tensorflow
There is also a gpu compatable version called tensorflow-gpu
If there are errors on this step you will need to resolve them before continuing.
Test python package
Now we will test tensorflow package by loading it in python and checking its location to ensure we are using the correct version.
python -c "import tensorflow;print (tensorflow.__file__)"
Output:
$HOME/.conda/envs/MY_ENV/lib/python3.9/site-packages/tensorflow/__init__.py
Remember, you will need to load the proper version of python before you go to use your newly installed package. Packages are only installed to one version of python.
Please refer HOWTO: Use GPU with Tensorflow and PyTorch if you would like to use tenorflow with Gpus.
HOWTO: Install Python packages from source
While we provide a number of Python packages, you may need a package we do not provide. If it is a commonly used package or one that is particularly difficult to compile, you can contact OSC Help for assistance. We also have provided an example below showing how to build and install your own Python packages and make them available inside of Python. These instructions use "bash" shell syntax, which is our default shell. If you are using something else (csh, tcsh, etc), some of the syntax may be different.
Please consider using conda Python package manager before you try to build Python using the method explained here. We have instructions on conda here.
Gather your materials
First, you need to collect what you need in order to perform the installation. We will do all of our work in $HOME/local/src. You should make this directory now.
mkdir -p $HOME/local/src
Next, we will need to download the source code for the package we want to install. In our example, we will use NumExpr. (NumExpr is already available through conda, so it is recommended you use conda to install it: tutorial here. The following steps are simply an example of the procedure you would follow to perform an installation of software unavailable in conda or pip). You can either download the file to your desktop and then upload it to OSC, or directly download it using the wget utility (if you know the URL for the file).
cd ~/local/src
wget https://github.com/pydata/numexpr/releases/download/v2.8.4/numexpr-2.8.4.tar.gz
Next, extract the downloaded file. In this case, since it's a "tar.gz" format, we can use tar to decompress and extract the contents.
tar xvfz numexpr-2.8.4.tar.gz
You can delete the downloaded archive now or keep it should you want to start the installation from scratch.
Build it!
Environment
To build the package, we will want to first create a temporary environment variable to aid in installation. We'll call INSTALL_DIR.
export INSTALL_DIR=${HOME}/local/numexpr/2.8.4
We are roughly following the convention we use at the system level. This allows us to easily install new versions of software without risking breaking anything that uses older versions. We have specified a folder for the program (numexpr), and for the version (2.8.4). To be consistent with Python installations, we will create a second temporary environment variable that will contain the actual installation location.
export TREE=${INSTALL_DIR}/lib/python3.6/site-packages
Next, make the directory tree.
mkdir -p $TREE
Compile
To compile the package, we should switch to the GNU compilers. The system installation of Python was compiled with the GNU compilers, and this will help avoid any unnecessary complications. We will also load the Python package, if it hasn't already been loaded.
module swap intel gnu
module load python/3.6-conda5.2
Next, build it. This step may vary a bit, depending on the package you are compiling. You can execute python setup.py --help to see what options are available. Since we are overriding the install path to one that we can write to and that fits our management plan, we need to use the --prefix option.
NumExpr build also requires us to set the PYTHONPATH variable before building:
export PYTHONPATH=$PYTHONPATH:~/local/numexpr/2.8.4/lib/python3.6/site-packages
Find the setup.py file:
cd numexpr-2.8.4
Now to build:
python setup.py install --prefix=$INSTALL_DIR
Make it usable
At this point, the package is compiled and installed in ~/local/numexpr/2.8.4/lib/python3.6/site-packages. Occasionally, some files will be installed in ~/local/numexpr/2.8.4/bin as well. To ensure Python can locate these files, we need to modify our environment.
Manual
The most immediate way -- but the one that must be repeated every time you wish to use the package -- is to manually modify your environment. If files are installed in the "bin" directory, you'll need to add it to your path. As before, these examples are for bash, and may have to be modified for other shells. Also, you will have to modify the directories to match your install location.
export PATH=$PATH:~/local/numexpr/2.8.4/bin
And for the Python libraries:
export PYTHONPATH=$PYTHONPATH:~/local/numexpr/2.8.4/lib/python3.6/site-packages
Hardcode it
We don't recommend this option, as it is less flexible and can cause conflicts with system software. But if you want, you can modify your .bashrc (or similar file, depending on your shell) to set these environment variables automatically. Be extra careful; making a mistake in .bashrc (or similar) can destroy your login environment in a way that will require a system administrator to fix. To do this, you can copy the lines above modifying $PATH and $PYTHONPATH into .bashrc. Remember to test them interactively first. If you destroy your shell interactively, the fix is as simple as logging out and then logging back in. If you break your login environment, you'll have to get our help to fix it.
Make a module (recommended!)
This is the most complicated option, but it is also the most flexible, as you can have multiple versions of this particular software installed and specify at run-time which one to use. This is incredibly useful if a major feature changes that would break old code, for example. You can see our tutorial on writing modules here, but the important variables to modify are, again, $PATH and $PYTHONPATH. You should specify the complete path to your home directory here and not rely on any shortcuts like ~ or $HOME. Below is a modulefile written in Lua:
If you are following the tutorial on writing modules, you will want to place this file in $HOME/local/share/lmodfiles/numexpr/2.8.4.lua:
-- This is a Lua modulefile, this file 2.8.4.lua can be located anywhere
-- But if you are following a local modulefile location convention, we place them in
-- $HOME/local/share/lmodfiles/
-- For numexpr we place it in $HOME/local/share/lmodfiles/numexpr/2.8.4.lua
-- This finds your home directory
local homedir = os.getenv("HOME")
prepend_path("PYTHONPATH",
pathJoin(homedir, "/local/numexpr/2.8.4/lib/python3.6/site-packages"))
prepend_path(homedir, "local/numexpr/2.8.4/bin")
Once your module is created (again, see the guide), you can use your Python package simply by loading the software module you created.
module use $HOME/local/share/lmodfiles/
module load numexpr/2.8.4
HOWTO: Use GPU with Tensorflow and PyTorch
GPU Usage on Tensorflow
Environment Setup
To begin, you need to first create and new conda environment or use an already existing one. See HOWTO: Create Python Environment for more details. In this example we are using miniconda3/24.1.2-py310 . You will need to make sure your python version within conda matches supported versions for tensorflow (supported versions listed on TensorFlow installation guide), in this example we will use python 3.9.
Once you have a conda environment created and activated we will now install tensorflow into the environment (In this example we will be using version 2.17.0 of tensorflow:
pip install tensorflow==2.17.0
Verify GPU accessability (Optional):
Now that we have the environment set up we can check if tensorflow can access the gpus.
To test the gpu access we will submit the following job onto a compute node with a gpu:
#!/bin/bash
#SBATCH --account <Project-Id>
#SBATCH --job-name Python_ExampleJob
#SBATCH --nodes=1
#SBATCH --time=00:10:00
#SBATCH --gpus-per-node=1


module load miniconda3/24.1.2-py310 cuda/12.3.0

source activate tensorflow_env


# run either of the following commands

python << EOF
import tensorflow as tf
print(tf.test.is_built_with_cuda())
EOF

python << EOF
from tensorflow.python.client import device_lib
print(device_lib.list_local_devices())
EOF
You will know tensorflow is able to successfully access the gpu if tf.test.is_built_with_cuda() returns True and device_lib.list_local_devices() returns an object with /device:GPU:0 as a listed device.
At this point tensorflow-gpu should be setup to utilize a GPU for its computations.
GPU vs CPU
A GPU can provide signifcant performace imporvements to many machine learnings models. Here is an example python script demonstrating the performace improvements. This is ran on the same environment created in the above section.
from timeit import default_timer as timer
import tensorflow as tf
from tensorflow import keras
import numpy as np


(X_train, y_train), (X_test, y_test) = keras.datasets.cifar10.load_data()


# scaling image values between 0-1
X_train_scaled = X_train/255
X_test_scaled = X_test/255

# one hot encoding labels
y_train_encoded = keras.utils.to_categorical(y_train, num_classes = 10)
y_test_encoded = keras.utils.to_categorical(y_test, num_classes = 10)

def get_model():
    model = keras.Sequential([
        keras.layers.Flatten(input_shape=(32,32,3)),
        keras.layers.Dense(3000, activation='relu'),
        keras.layers.Dense(1000, activation='relu'),
        keras.layers.Dense(10, activation='sigmoid')
    ])

    model.compile(optimizer='SGD',
              loss='categorical_crossentropy',
              metrics=['accuracy'])
    return model

# GPU
with tf.device('/GPU:0'):
    start = timer()
    model_cpu = get_model()
    model_cpu.fit(X_train_scaled, y_train_encoded, epochs = 1)
    end = timer()


print("GPU time: ", end - start)

# CPU
with tf.device('/CPU:0'):
    start = timer()
    model_gpu = get_model()
    model_gpu.fit(X_train_scaled, y_train_encoded, epochs = 1)
    end = timer()

print("CPU time: ", end - start)
Example code sampled from here
The above code was then submitted in a job with the following script:
#!/bin/bash
#SBATCH --account <Project-Id>
#SBATCH --job-name Python_ExampleJob
#SBATCH --nodes=1
#SBATCH --time=00:10:00
#SBATCH --gpus-per-node=1

module load miniconda3/24.1.2-py310 cuda/12.3.0

source activate tensorflow_env

python tensorflow_example.py
As we can see from the output, the GPU provided a signifcant performace improvement.
GPU time:  3.7491355929996644

CPU time:  78.8043485119997
Usage on Jupyter
If you would like to use a gpu for your tensorflow project in a jupyter notebook follow the below commands to set up your environment.
To begin, you need to first create and new conda environment or use an already existing one. See HOWTO: Create Python Environment for more details. In this example we are using python/3.6-conda5.2
Once you have a conda environment created and activated we will now install tensorflow-gpu into the environment (In this example we will be using version 2.4.1 of tensorflow-gpu:
conda install tensorflow-gpu=2.4.1
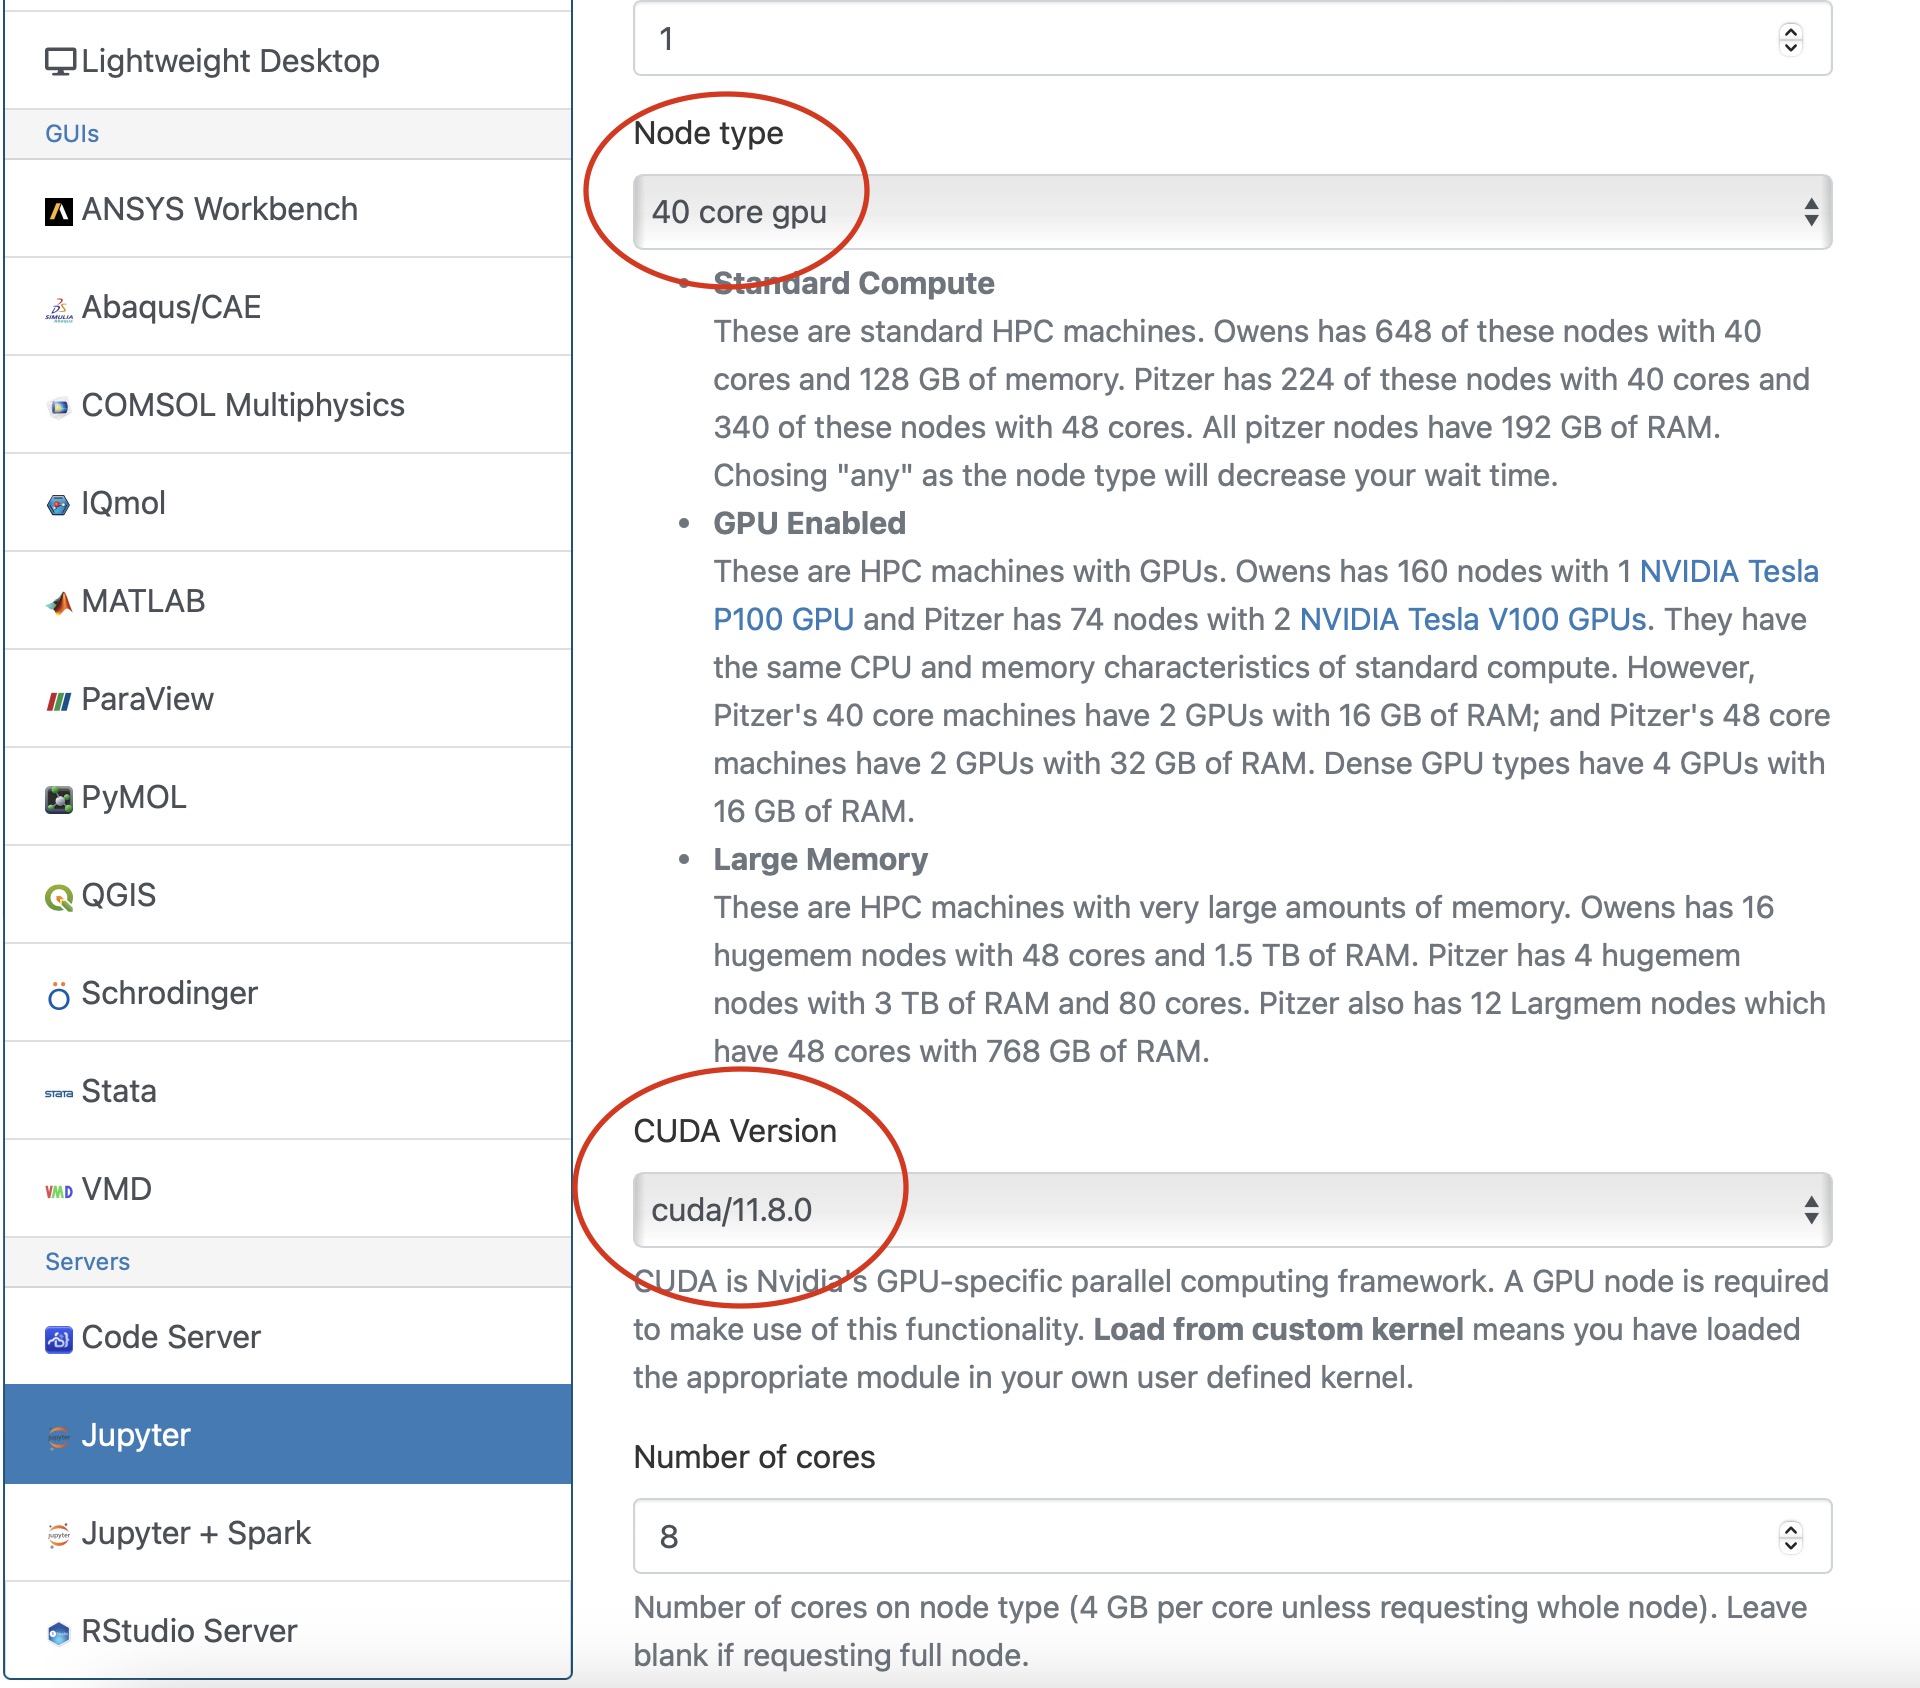
Now we will setup a jupyter kernel. See HOWTO: Use a Conda/Virtual Environment With Jupyter for details on how to create a jupyter kernel with your conda environment.
Once you have the kernel created see Usage section of Python page for more details on accessing the Jupyter app from OnDemand.
Now you are all setup to use a gpu with tensorflow on a juptyer notebook.
GPU Usage on PyTorch
Environment Setup
To begin, you need to first create and new conda environment or use an already existing one. See HOWTO: Create Python Environment for more details. In this example we are using miniconda3/24.1.2-py310
Once you have a conda environment created and activated we will now install pytorch into the environment (In the example we will be using version 2.3.0 of pytorch:
conda install pytorch=2.3.0
Verify GPU accessability (Optional):
Now that we have the environment set up we can check if pytorch can access the gpus.
To test the gpu access we will submit the following job onto a compute node with a gpu:
#!/bin/bash
#SBATCH --account <Project-Id>
#SBATCH --job-name Python_ExampleJob
#SBATCH --nodes=1
#SBATCH --time=00:10:00
#SBATCH --gpus-per-node=1


module load miniconda3/24.1.2-py310 cuda/12.3.0

source activate pytorch_env


python << EOF
import torch
print(torch.cuda.is_available())
device = torch.device("cuda:0" if torch.cuda.is_available() else "cpu")
print(device)
EOF
You will know pytorch is able to successfully access the gpu if torch.cuda.is_available() returns True and torch.device("cuda:0" if torch.cuda.is_available() else "cpu") returns cuda:0 .
At this point PyTorch should be setup to utilize a GPU for its computations.
GPU vs CPU
Here is an example pytorch script demonstrating the performace improvements from GPUs
import torch
from timeit import default_timer as timer


# check for cuda availability
print("Cuda: ", torch.cuda.is_available())
device = torch.device("cuda:0" if torch.cuda.is_available() else "cpu")
print("Device: ", device)


#GPU
b = torch.ones(4000,4000).cuda() # Create matrix on GPU memory
start_time = timer()
for _ in range(1000):
    b += b
elapsed_time = timer() - start_time

print('GPU time = ',elapsed_time)


#CPU
a = torch.ones(4000,4000) # Create matrix on CPU memory
start_time = timer()
for _ in range(1000):
    a += a
elapsed_time = timer() - start_time

print('CPU time = ',elapsed_time)
The above code was then submitted in a job with the following script:
#!/bin/bash
#SBATCH --account <Project-Id>
#SBATCH --job-name Python_ExampleJob
#SBATCH --nodes=1
#SBATCH --time=00:10:00
#SBATCH --gpus-per-node=1

module load miniconda3/24.1.2-py310 cuda/12.3.0

source activate pytorch_env

python pytorch_example.py
As we can see from the output, the GPU provided a signifcant performace improvement.
GPU time =  0.0053490259997488465

CPU time =  4.232843188998231
Usage on Jupyter
If you would like to use a gpu for your PyTorch project in a jupyter notebook follow the below commands to set up your environment.
To begin, you need to first create and new conda environment or use an already existing one. See HOWTO: Create Python Environment for more details. In this example we are using miniconda3/24.1.2-py310
Once you have a conda environment created and activated we will now install pytorch into the environment (In the example we will be using version 2.3.0 of pytorch:
conda install pytorch=2.3.0
You also may need to install numba for PyTorch to access a gpu from the jupter notebook.
conda install numba=0.60.0
Now we will setup a jupyter kernel. See HOWTO: Use a Conda/Virtual Environment With Jupyter for details on how to create a jupyter kernel with your conda environment.
Once you have the kernel created see Usage section of Python page for more details on accessing the Jupyter app from OnDemand.
Now you are all setup to use a gpu with PyTorch on a juptyer notebook.
Horovod
If you are using Tensorflow or PyTorch you may want to also consider using Horovod. Horovod will take single-GPU training scripts and scale it to train across many GPUs in parallel.
HOWTO: Use uv for Python at OSC
uv is a fast Python package and virtual environment manager developed by Astral. It provides functionality provided by both venv and pip, but is significantly faster at dependency resolution. Some users who do not need Conda packages or cross-language support in their project may prefer to use uv for its speed. Because uv is still under active development and its behavior may change between frequent releases, OSC does not currently provide it as a centrally managed software package. However, users who wish to use uv may install it in their home directory and manage their own installation.
Install uv
To install uv on OSC systems, please manually download the install.sh script for the latest release:
wget https://astral.sh/uv/install.sh
Then, run the following commands to install uv in its own folder in your home directory:
chmod +x install.sh

mkdir -p $HOME/osc_apps/uv

UV_INSTALL_DIR="$HOME/osc_apps/uv" INSTALLER_NO_MODIFY_PATH=1 ./install.sh
The default uv installation procedure modifies a user's .bashrc and installs binaries into location that may not be appropriate for OSC systems. Installing uv into a dedicated location in your home directory as described above avoids creating conflicts with other modules.
Create a Local Module
After installation, OSC recommends you create a local module so that uv can be loaded into your PATH with module load uv/<version> when you want to use it. Modules allow you to dynamically alter your environment to define environment variables and bring executables, libraries, and other features into your shell's search paths. These instructions are for uv version 0.11.29.
We will be using the filename 0.11.29.lua ("version".lua). A simple Lua module for our uv installation would be:
-- Local Variables local name = "uv" local version = "0.11.29" -- Locate Home Directory local homedir = os.getenv("HOME") # This is for the path $HOME/osc_apps/uv local root = pathJoin(homedir, "osc_apps", name)-- Set Basic Paths prepend_path("PATH", pathJoin(root, "bin"))prepend_path("LD_LIBRARY_PATH", root .. "/lib") prepend_path("LIBRARY_PATH", root .. "/lib") prepend_path("INCLUDE", root .. "/include") prepend_path("CPATH", root .. "/include") prepend_path("PKG_CONFIG_PATH", root .. "/lib/pkgconfig")prepend_path("MANPATH", root .. "/share/man")
Copy this to a file and save it to your local module directory at $HOME/local/share/lmodfiles/uv.
Initializing Modules
To make this module usable, you need to tell lmod where to look for it. You can do this by issuing the command module use $HOME/osc_apps/lmodfiles in our example. You can see this change by performing module avail. This will allow you to load your software using module load uv/0.11.29.
More information about locally installing software and creating local modules can be found at HOWTO: Locally Installing Software.
Create a virtual environment
Before creating a virtual environment with uv, load your local uv module and an OSC Python module. If you do not load a Python module, uv will install and manage its own version of Python, which may be less optimized for OSC's systems.
To load these modules:
module load python/<version> uv/<version>
You can use module spider python to see which versions of python are available on a given system.
Then, to create a uv virtual environment, run:
uv venv --no-managed-python local
This creates an environment in the current directory called local. Using --no-managed-python means that uv will use the current Python module that you have loaded.
Activate and deactivate the virtual environment
First, load the Python module you used when you created the enviroment:
module load python/<version>
To activate your uv virtual environment (named local here), run:
source local/bin/activate
To deactivate your uv virtual environment, run:
deactivate
Install packages
uv can install packages from PyPi. To install a package with uv, run:
uv pip install package
Where package is the name of the package you want to install.
Further Reading