
This Knowledge Base article is based on an online workshop developed by the Ohio Supercomputer Center (OSC). It has been expanded with commentary and some helpful hints to enable people to complete it on their own. If you already have an account at OSC you can use it for this tutorial. This tutorial will demonstrate how to use pyspark interface to Spark through Jupyter notebook on OSCOndemand.
Launching Jupyter+Spark App
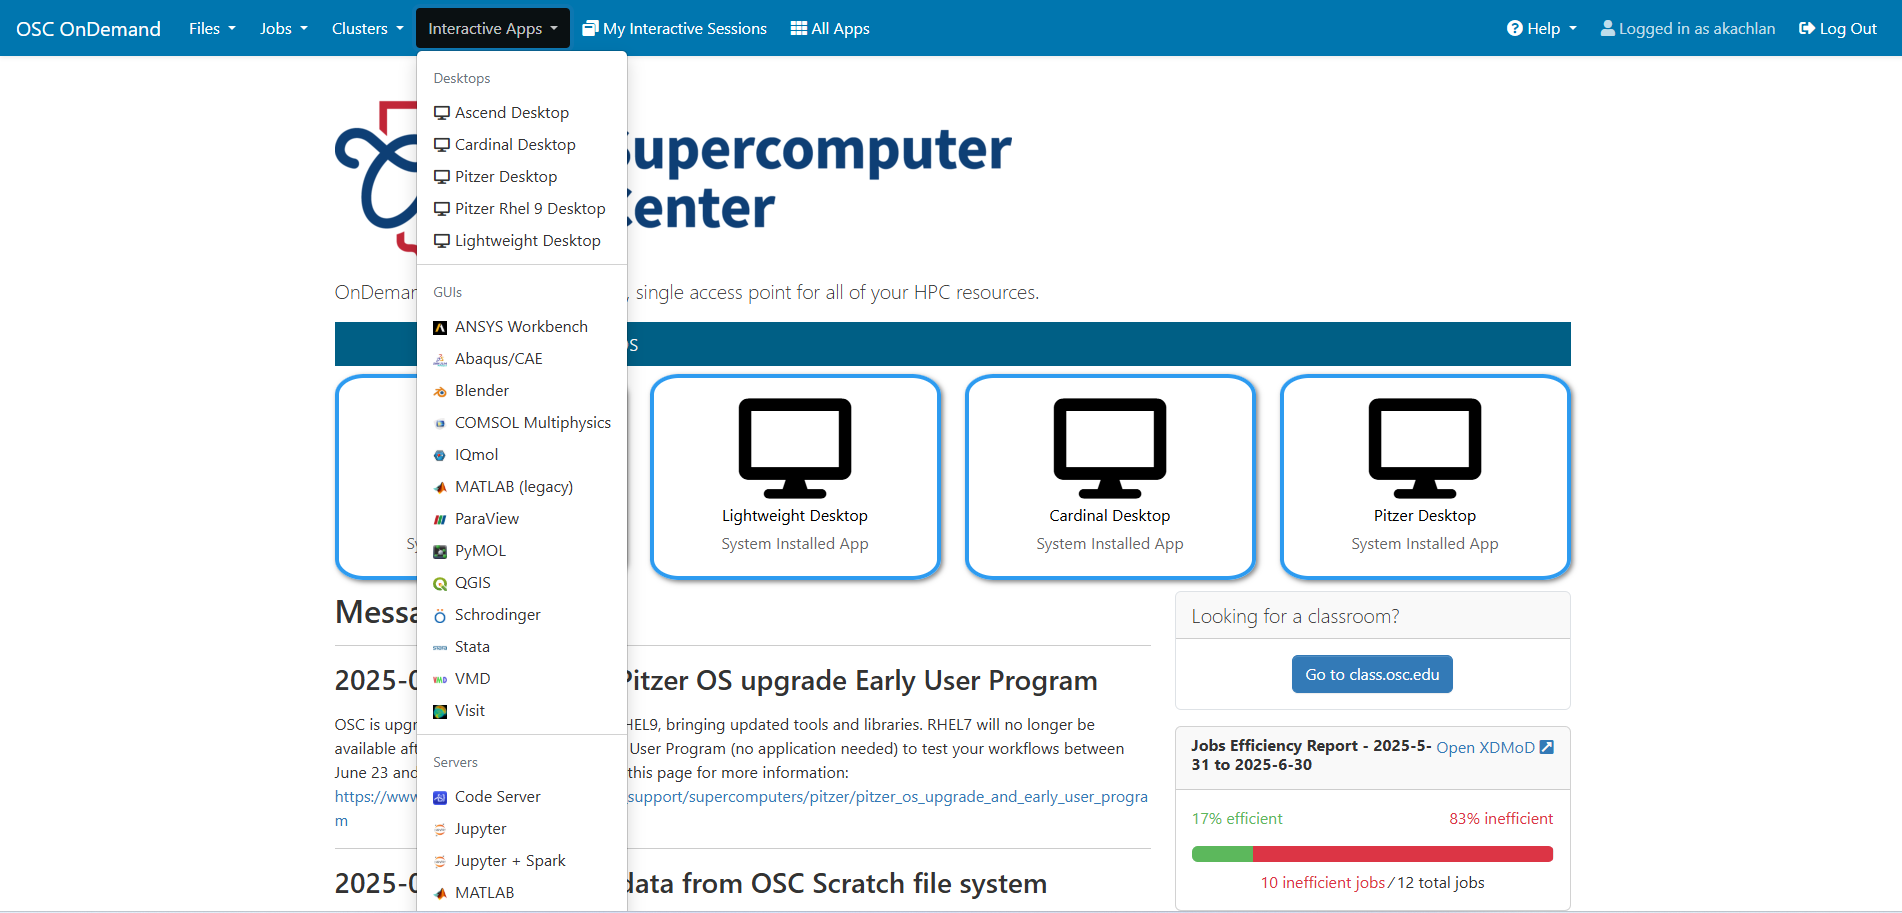
Log on to https://ondemand.osc.edu/ with your OSC credentials. Choose Jupyter+Spark app from the Interactive Apps option.
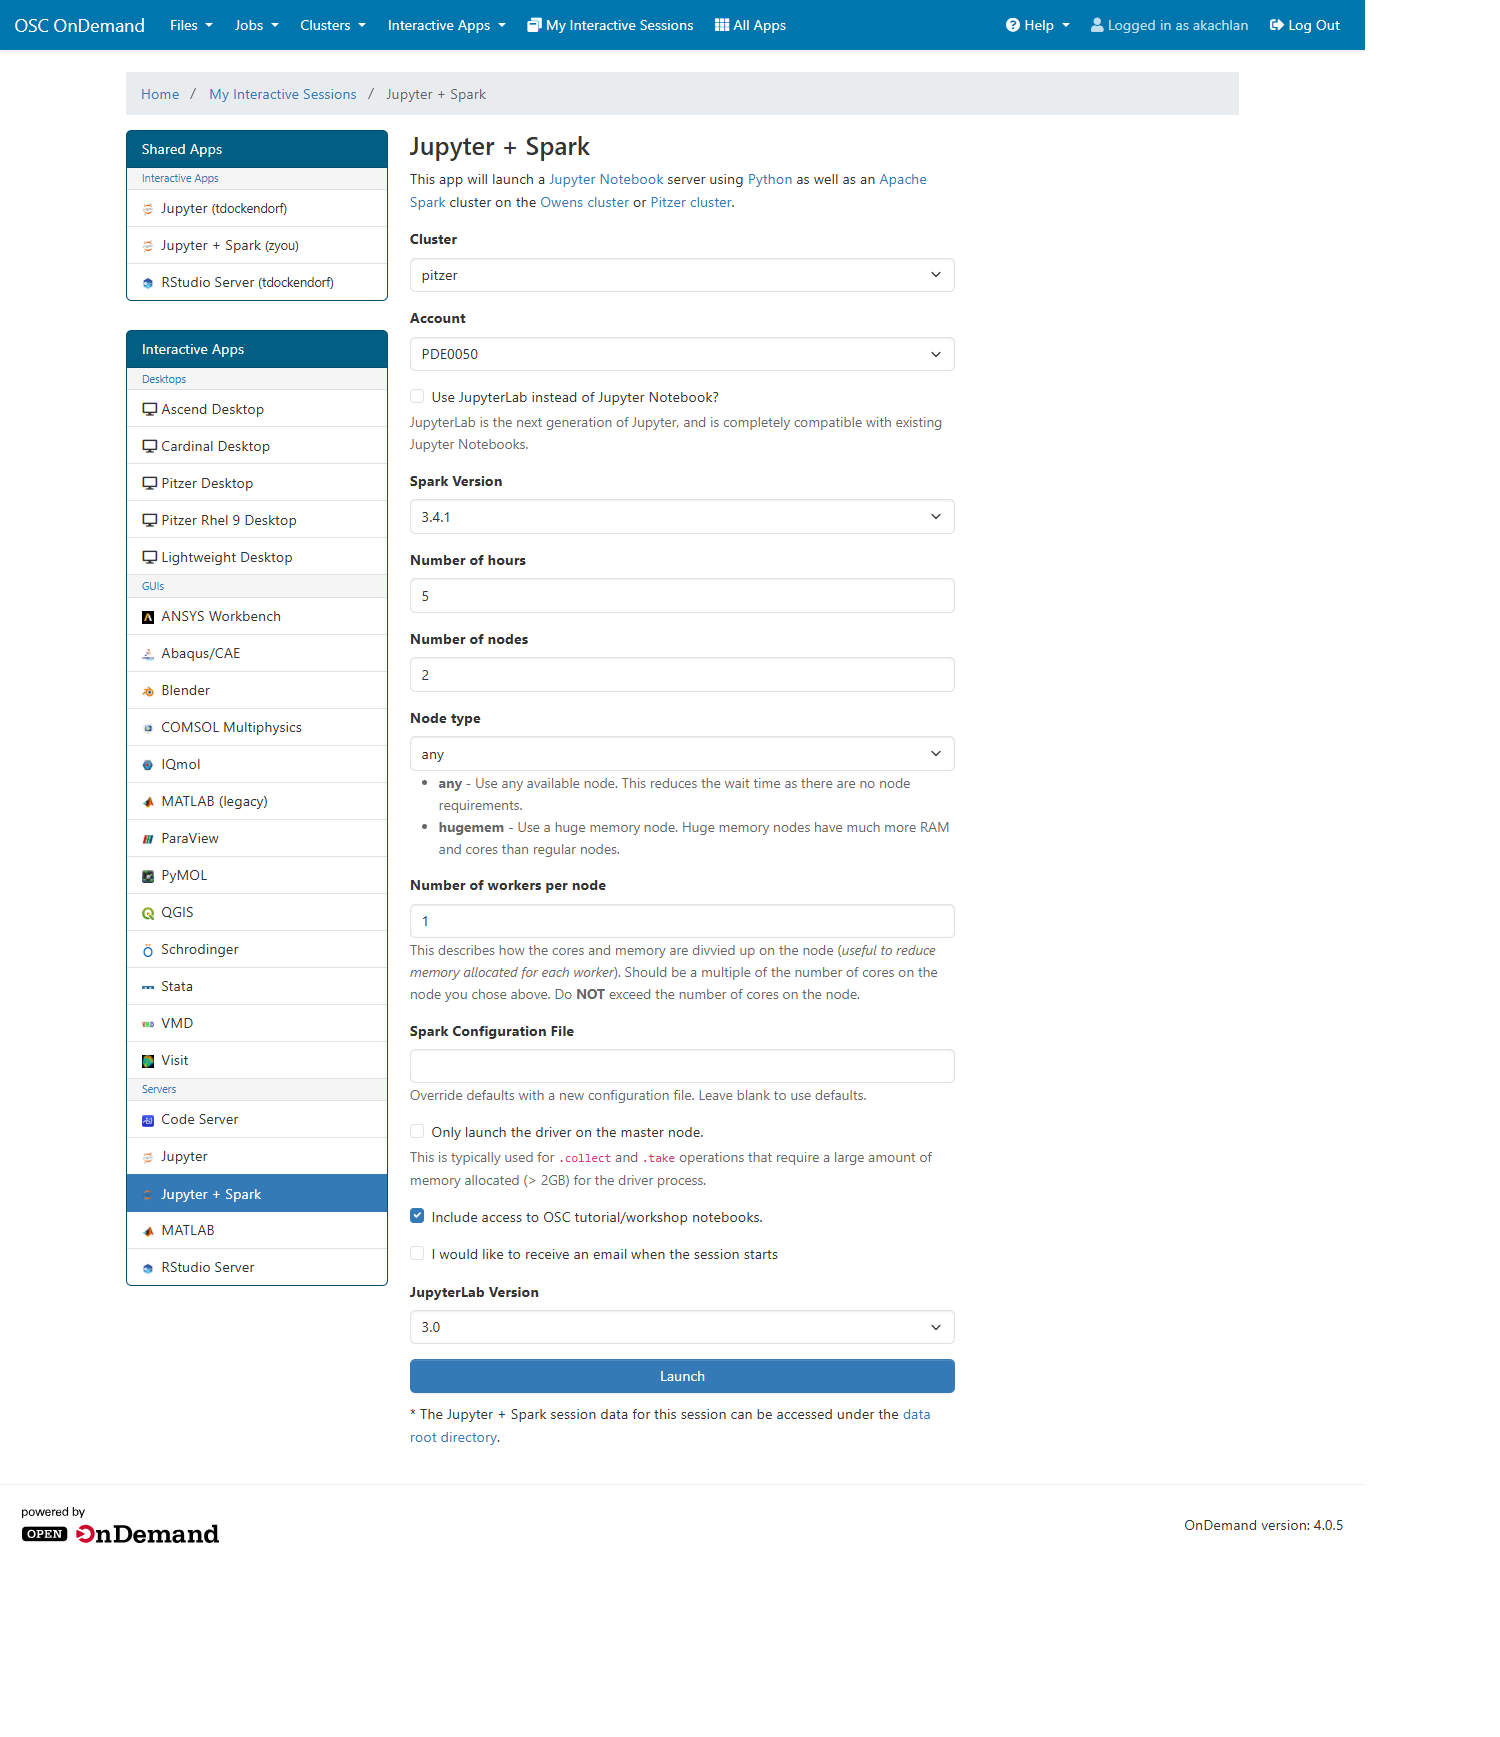
Provide job submission parameters and click Launch. Please make sure to check Include access to OSC tutorial/workshop notebooks
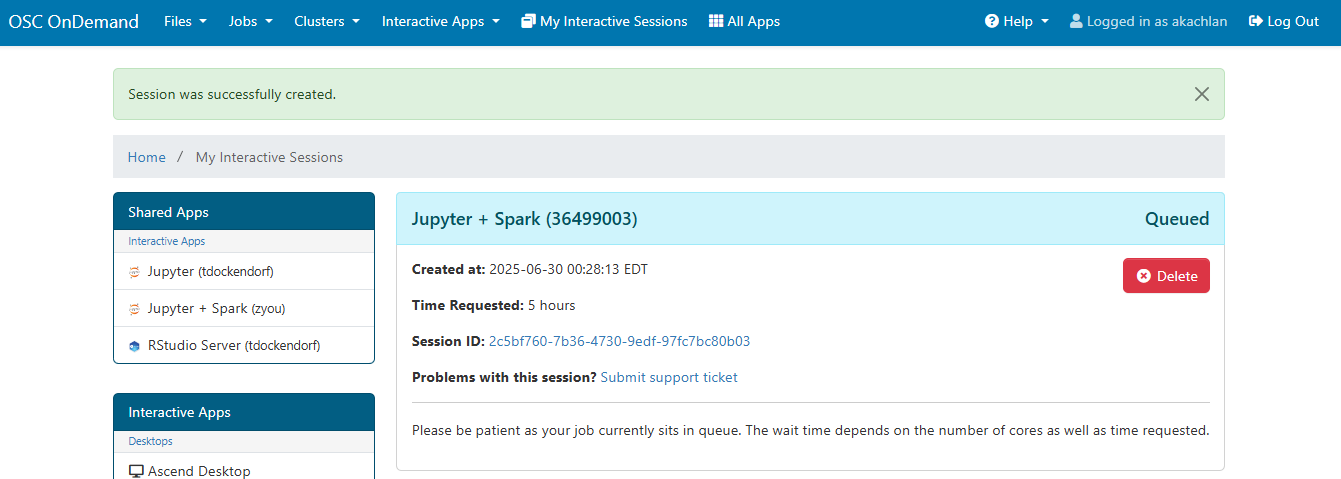
The next page shows the status of your job either as Queued or Starting or Running
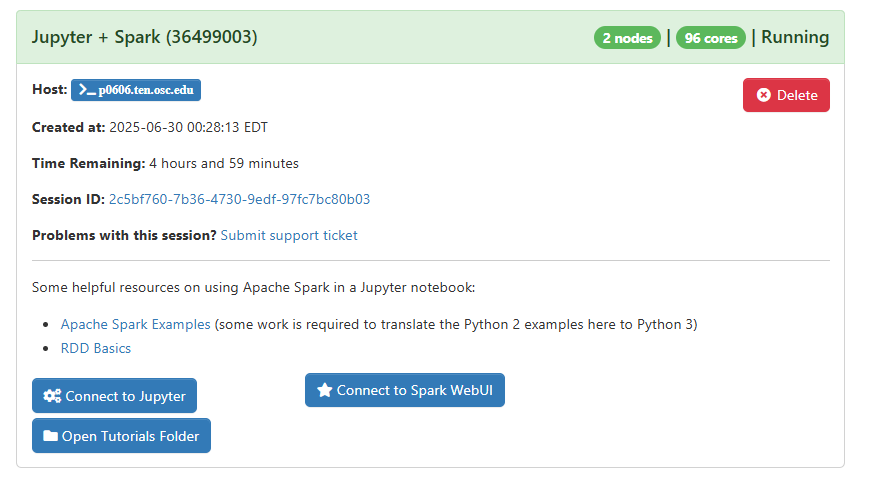
When the job is ready, please click on Open tutorial folder option
You will see a file called pyspark_tutorials.ipynb. Please select the checkbox next to the the filename and then click on duplicate to make a copy of the file.

You will see that a new file named pyspark_tutorials-Copy1.ipynb is created.

Double-clicking on the pyspark_tutorials-Copy1.ipynb file will launch Jupyter interface for Spark to proceed with the tutorials.
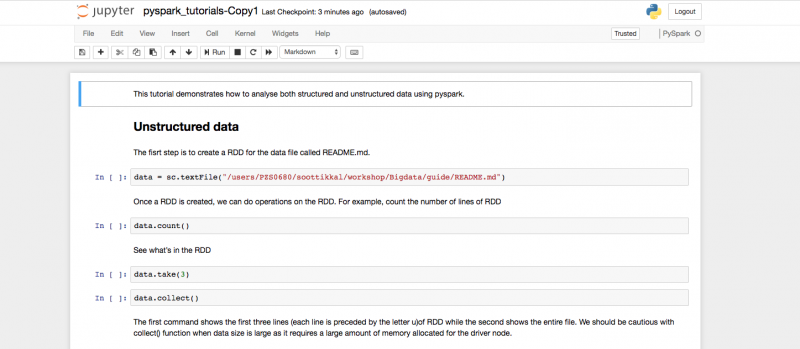
You can go through each cell and execute commands to see the results. Click on the cell, then either press Shift + Enter Or Run tab to execute a cell. When a cell is being executed, you will see * appearing as In [*] on the left side of the cell. When the execution is completed, you will see results below the cell.
When you are done with the exercise, close the Jupyter tabs and delete the job by clicking Delete.

Access directory outside of home directory
If you need to access your project or scratch directory, you can create a symbolic link (symlink) in your home directory using the terminal. This makes it easier to navigate to directories located outside your home directory in Jupyter.
For example, to access the project directory PAS1234 located at /fs/ess/PAS1234, follow these steps:
cd $HOME
ln -s /fs/ess/PAS1234
This command creates a symbolic link named "PAS1234" in your home directory that points to /fs/ess/PAS1234. You can then access the directory by simply navigating to "PAS1234" in Jupyter.
Changing the Jupyter Root Directory
Set the NOTEBOOK_ROOT environment variable in your ~/.bashrc file to the desired root directory before launching Jupyter: export NOTEBOOK_ROOT="/the/desired/root/path