OnDemand is our "one-stop shop" for access to our High Performance Computing resources. With OnDemand, you can upload and download files; create, edit, submit, and monitor jobs; run GUI applications; and connect via SSH, all via a web broswer, with no client software to install and configure.
We've created a brief video explaining OnDemand's capabilities so users can better gauge if it is the right fit for them. Getting connected to OnDemand is also covered in this video. In addition, we've developed tutorial videos for OnDemand's job client and file management client.
System Requirements
Currently, the site is confirmed to work with newer versions of Chrome (87+), Firefox (87+), and Internet Explorer (11+). We are still working to expand availability to additional clients and are planning on including compatibility for mobile devices (phones and tablets) in the future.
Connecting
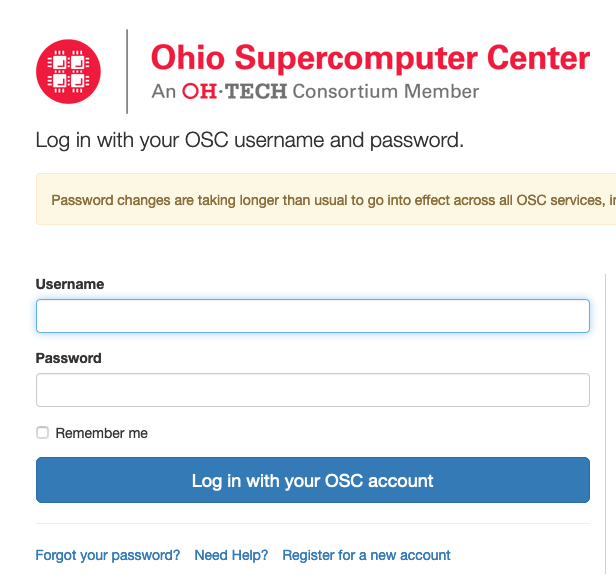
To connect to OnDemand, visit https://ondemand.osc.edu. The first page of the OnDemand site displays instructions on how to log in to OSC OnDemand, which are shown in the image below:
There are two options for logging in.
Option 1: Using OSC HPC Credentials
Follow the steps below to use OSC HPC credentials to directly log in.
Option 2: Using Third-Party Credentials
You can also map third-party credentials to an OSC account and log in using the third-party credentials.

Click the button labeled "Log in with third party though CILogon" at the bottom to continue to step 1 shown below:
- Step 1 requires you to choose an identity provider to log in with. This can be any institute you're affiliated with or even services like Google.
If you check "Remember this selection" you will need to delete cookies from the cilogon domain to make a new choice. You can do this through your browser's settings or at https://cilogon.org/me - Step 2 has you log in using your credentials for the provider you picked.
- Step 3 has you log in with your OSC credentials in order to link your identity provider to your OSC account.
https://idp.osc.edu/realms/osc/account/identity
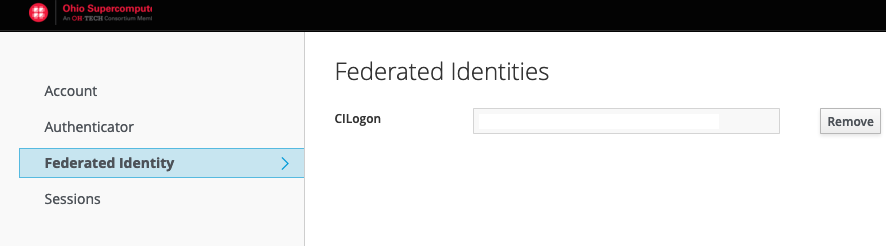
and clicking Remove.
Once completed you will be presented with this page:

Or this page if your browser window is more compact:
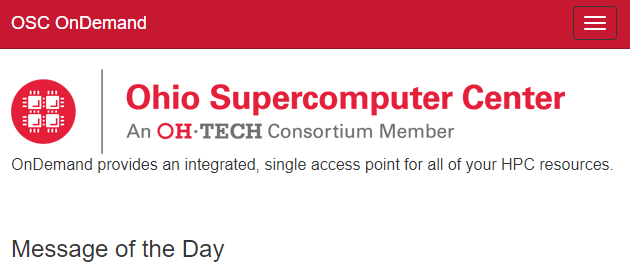
The three-lined icon to the right of the compact page expands when clicked to show the full toolbar that the non-compact page has. At this point, you can begin accessing the tools in OnDemand.
File Transfer
Move data on and off of OSC storage services. To use the file transfer client, select "Files" in the main menu. For more information, please visit the file transfer and management page.
Job Management
Create, edit, submit, and monitor jobs. To access the job management tools, use the "Jobs" menu. For more information about the tools, please visit the job management page.

Shell Access
OnDemand provides the ability to SSH to Pitzer, Cardinal, or Ascend from inside your web browser. To get to a terminal, select the "Clusters" menu and choose either Pitzer, Cardinal, or Ascend.

Please note that this action will open a new tab with shell access to the cluster.
System Status
System status can be accessed by clicking on the "Clusters" tab and selecting "System Status" on the drop-down menu. This page shows the current status of the entire system (nodes in use, cores in use, and number of running, queued, and blocked jobs).
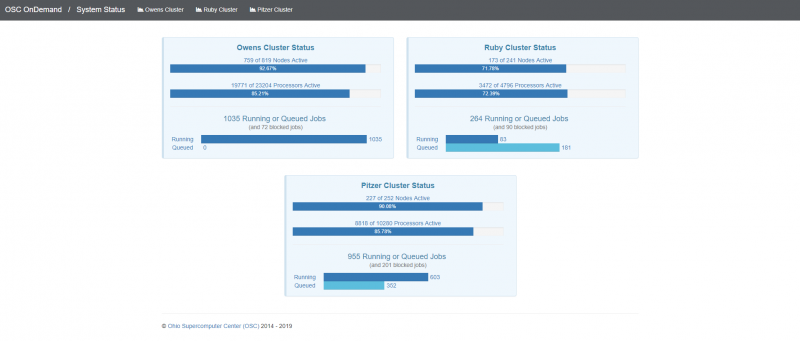
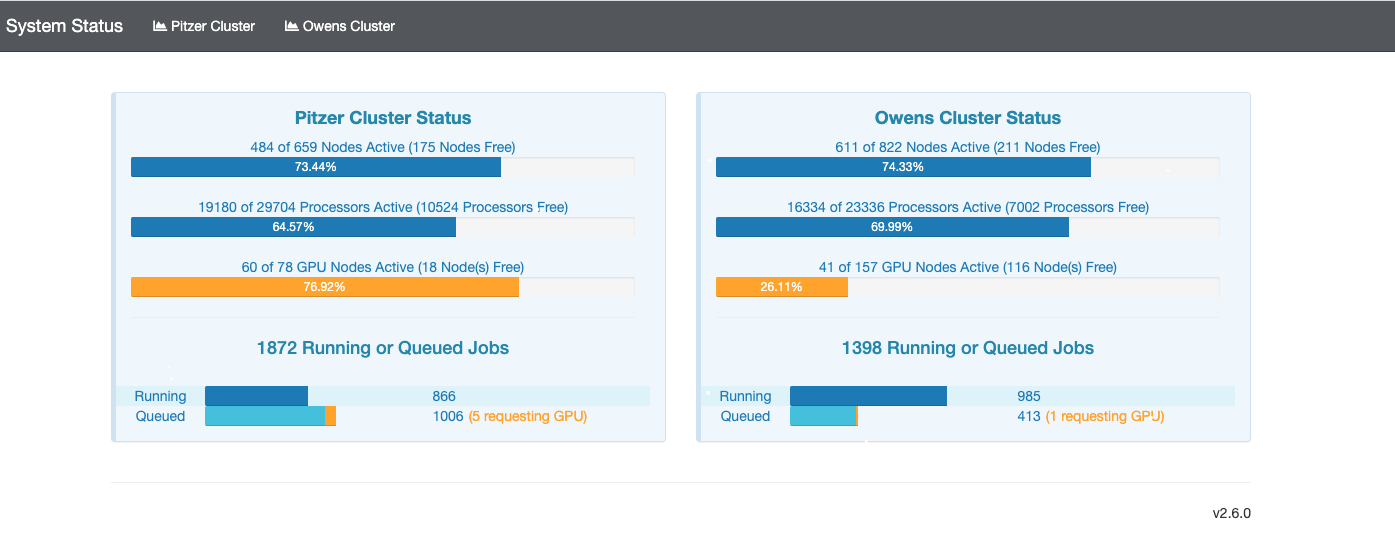
If you click the image, you'll get a detailed report including the total system load, the CPU usage, the total cluster memory use, and the total network traffic on the cluster. The "CPU Report" showing less than 100% use means that there are some cores not currently being used by a job, but that doesn't necessarily mean that they are available to be scheduled. There may be a system reservation that is preventing the scheduler from utilizing all of those cores.
Get a Virtual Desktop
Request a desktop to run GUI applications without the hassle or performance problems associated with X11 forwarding. To access one, please select either "Interactive HPC" or "Virtual Desktop Interface" from the "Desktops" menu.
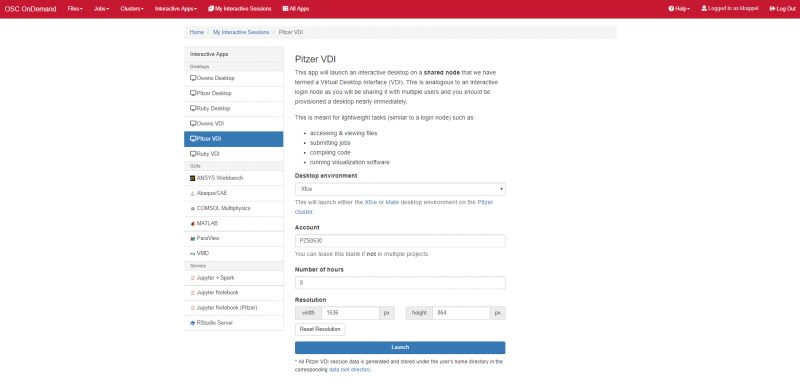
Virtual Desktop Interface
Select one VDI app and you will arrive on the page shown below. Please modify the resolution information if needed and click "Launch." You may need to wait for a few minutes for the interface to launch.
Once the interface is ready to be used, your session manager will have a job that looks like the image below:
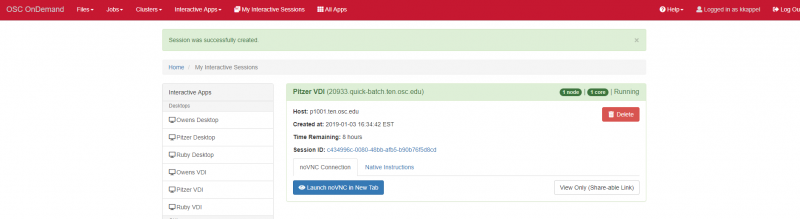
To access the interface, you can choose from "noVNC Instructions" or "Native Client Instructions." If you use "noVNC," you can choose from "Launch noVNC in New Tab" to get your desktop shown below and work accordingly, or "View Only (Shareable Link)" to get your desktop or share your desktop with colleagues in "View Only" mode. If you use "Native Client Instructions", see this page for more information on how to use OSC Connect.

Interactive HPC
Request a desktop on compute node through the batch system without the hassle or performance problems associated with X11 forwarding. To access one, please select "Pitzer Desktop" or others under "Interactive" from the "Desktops" menu.
If you choose "Pitzer Desktop," you will arrive on the page shown below. Please enter the information as desired and click "Launch." You may need to wait for a few minutes for the interface to launch. If you'd like to recieve an email notifiying you of when the interface has launched, please select "I would like to recieve an email when the session starts."

Once the interface is ready to be used, your session manager will have a job that looks like the image below:
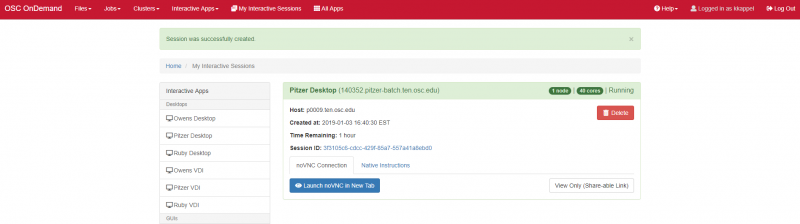
Similarly, you can choose from "noVNC Instructions" or "Native Client Instructions" to get the interface. If you use "noVNC," you can choose from "Launch noVNC in New Tab" to get your desktop and work accordingly, or "View Only (Shareable Link)" to get your desktop or share your desktop with colleagues in "View Only" mode. If you use "Native Client Instructions," see this page for more information on how to use OSC Connect.

Access Application on Compute Node
Request an application on compute node through the batch system without the hassle or performance problems associated with X11 forwarding. To access one, please select any app from the "Desktop Apps" menu. See "Desktop App Catalog" for more information.
Support Tickets
The OnDemand dashboard now supports the ability to send a support ticket to our Help Desk system.
To do so from your OnDemand Dashboard, simply go to > Help > Submit Support Ticket and fill in the following fields on the form that comes up:
Username: Logged in user. Username will be added to support ticket body for reference.
Email: Email address for communication regarding this ticket. Only a single email address is supported.
CC: Additional email address to copy onto this ticket. Only a single email address is supported.
Subject: Brief description of the problem.
Expected behavior: Detailed description of what was expected to happen.
Actual behavior: Detailed description of the unintended outcome.
Steps to reproduce: Detailed description of steps that led to the problem.